Wishing to transform your outdoor space from dull, hard concrete to a vibrant, green oasis? Look no further, because this guide is here to tell you everything you need to know! Whether you’re thinking of sprucing up your patio or your balcony. You can learn how to lay artificial grass on concrete in this easy, step-by-step guide.
Learn artificial grass installation from gathering the right materials and tools to important considerations like drainage and the overall process. And the best part? You can do it all by yourself! So, grab your gloves and let’s dive into turning that lifeless concrete into a lush, green garden!
Why Install Artificial Grass on Concrete?
If you’re still on the fence about whether or not putting artificial grass over your concrete floor is a good idea, don’t be. Artificial grass, also known as fake grass, is a great, kid-friendly and pet-friendly alternative to hard concrete. It also brings life to your outdoor space with its bright green colour, as opposed to the dull grey of concrete.
Plus, the best time to install artificial grass in the UK is during spring or early autumn when the weather is mild, making the process easier and ensuring the adhesive sets properly. Moreover, it’s soft, looks appealing, and is convenient. What more could you ask for? Convinced now? Keep reading to find out what tools you need for laying artificial grass on concrete.
Required Tools and Materials
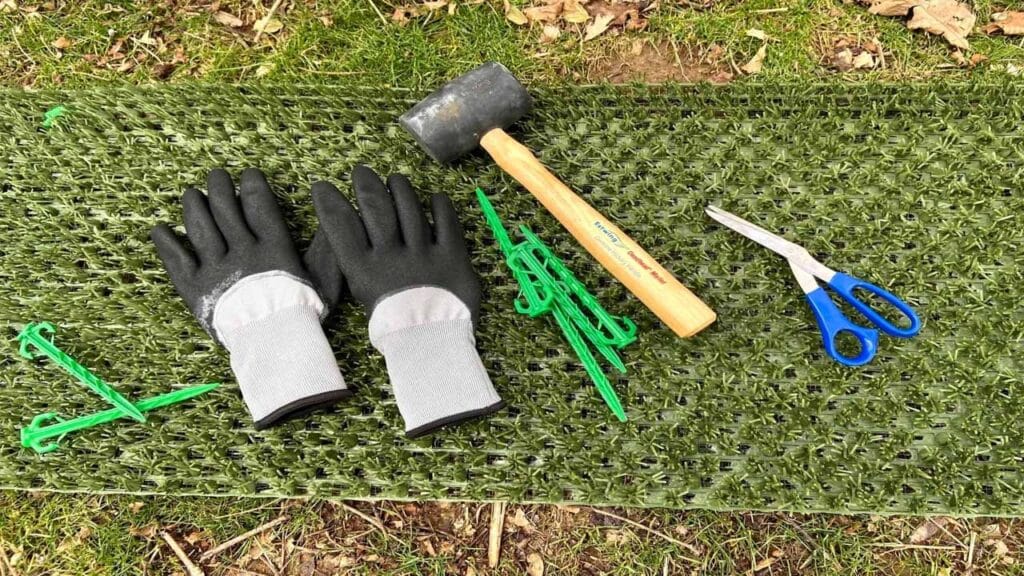
Make sure you have bought the affordable artificial grass and all the right tools before getting started. Here’s what you’ll need:
Tools
- Tape measure
- Utility knife or sharp scissors
- Adhesive spreader or trowel
- Stiff brush or broom
- Straightedge or ruler
- Roller (optional)
Materials
- Artificial grass
- Adhesive or double-sided tape
- Jointing tape (for seams)
- Infill material (like silica sand or rubber granules)
- Shock pad (optional)
Some Things to Consider
Before we tell you how to lay your artificial grass, you’ll need to check your surface and area for a few things to make sure it’s suitable for artificial grass installation.
Price of the Artificial Grass
First and foremost, the price of your artificial lawn grass shouldn’t break your bank. Because your garden should look beautiful without being a burden. So, you should rather find an affordable source to buy artificial grass.
Besides this, you can also find artificial grass finance plans, where you can buy fake grass in instalments. Make weekly, monthly, or bi-weekly instalments, as per your convenience.
Surface Conditions
Secondly, you need to make sure your concrete is suitable for installing artificial grass. It needs to be smooth, level and free from any debris. Use a spirit level to check if your concrete is even.
If you find any cracks or pits, fill them up with a thin layer of sand or a levelling compound. This is important for your artificial grass to look flawless.
Assess Drainage
Thirdly, you will also need to address any drainage issues your surface might have. You can check this by spraying your concrete with water.
If you see pools of water in any area(s) that means it has poor drainage. Drill holes in these areas with preferably a 16 mm drill bit, then fill them up with shingles.
Check Ventilation
Lastly, When using adhesives, you need to make sure the area is properly ventilated to avoid any buildup of fumes. You can do this by opening windows and doors to let in fresh air, also consider using a fan to enhance circulation.
If you’re working in a smaller or enclosed space, wearing a mask can help further protect you from any lingering fumes. Good airflow is very important to keep the workspace safe and comfortable, and it also helps the adhesive set effectively.
How to Install Artificial Grass on Concrete – 3 Easy Steps
After you’ve made the necessary preparations regarding your surface, it’s time to install your artificial grass. Here’s how to lay your very own artificial grass on concrete by yourself.
Learn How to Lay Artificial Turf on Grass -> https://www.payweeklyflooring.co.uk/lay-artificial-turf-on-grass/
Step 1: Installing the Shock Pad Underlay (Optional but Worth it)
Now, this part is not required but it is recommended if you want a softer, more cushioned feel underfoot. Laying artificial grass on top of concrete will make your outdoor space look brighter, greener, and aesthetically pleasing, but it won’t be as comfortable as real grass. So, to combat this, you can install the shock pad underlay. Your kids and pets will thank you!
1. Roll Out the Underlay:
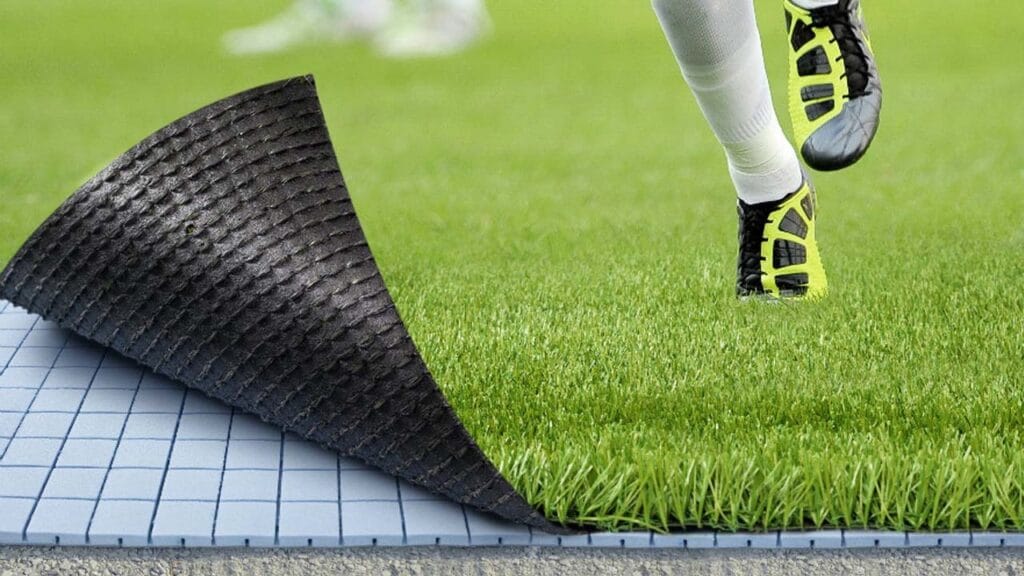
Start at one end of the area and roll out your shock pad underlay. Make sure it’s tight to the edges then simply cut it to fit the space.
2. Secure the Edges:
Place heavy objects at the ends to prevent the underlay from rolling back. Then, use jointing tape to connect the pieces of underlay.
3. Glue the Underlay:
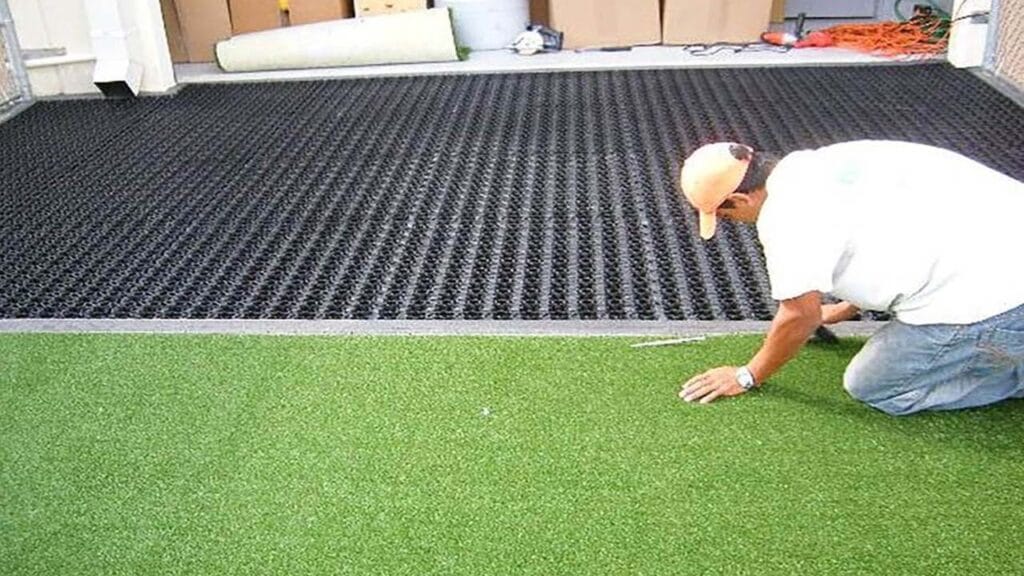
Fold back the edges of the underlay and generously apply a layer of adhesive onto the concrete. The layer should be about 2-3 mm thick. Then, press the underlay back and allow the glue to set for about 30 minutes.
Step 2: Laying the Artificial Grass on Concrete
Now that the underlay is securely placed, it’s time to install the artificial grass on concrete. Here’s how:
1. Roll out the Turf:
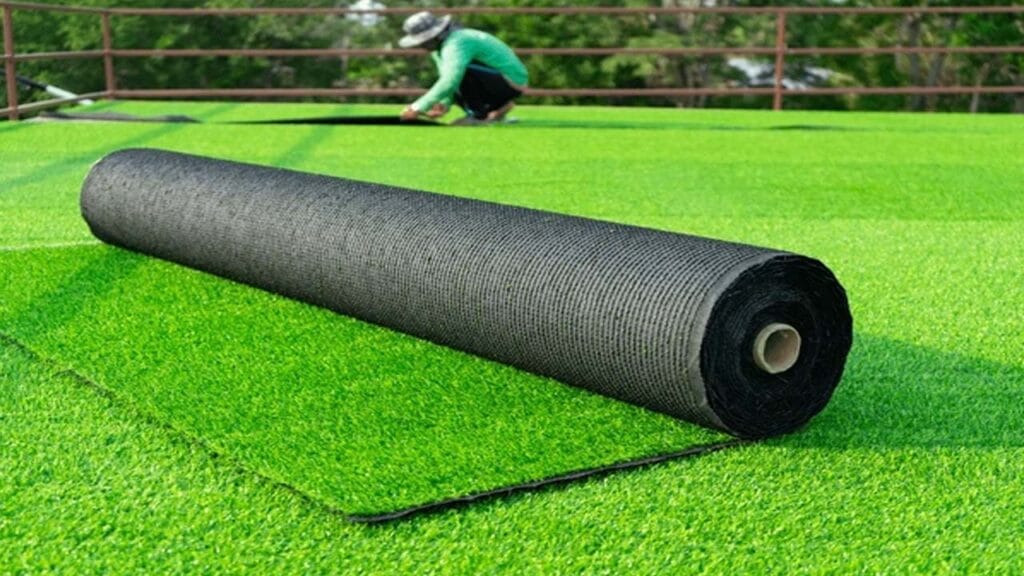
Roll out your artificial grass onto the concrete. Allow for an extra 5 cm around the edges. Then, just let it sit for a few hours to help the grass settle and for any creases to disappear.
2. Trim to Size:
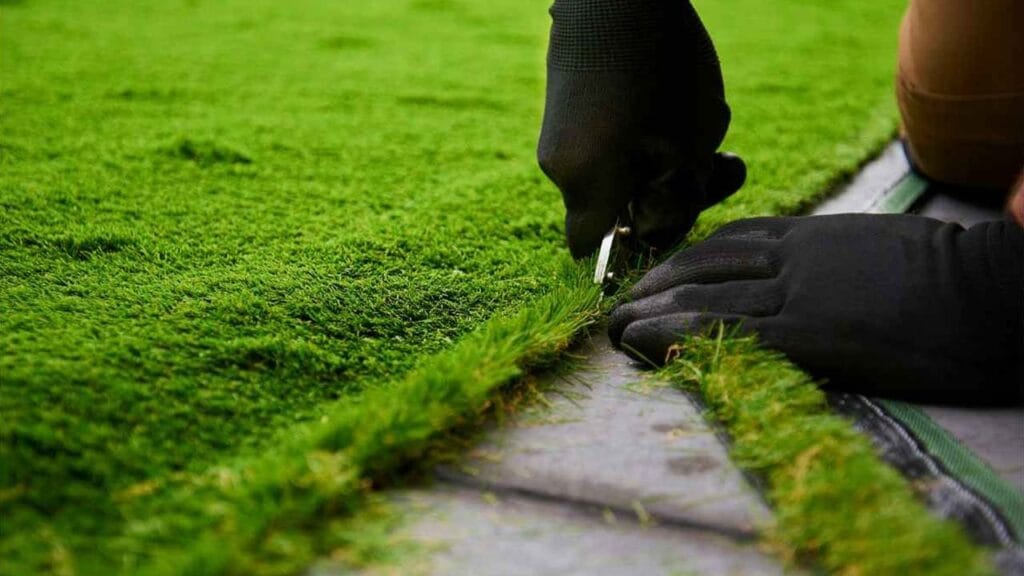
Take a sharp knife and carefully trim the edges of the grass. Make sure you cut along the stitch lines to avoid damaging the fibres.
3. Glue the Turf:
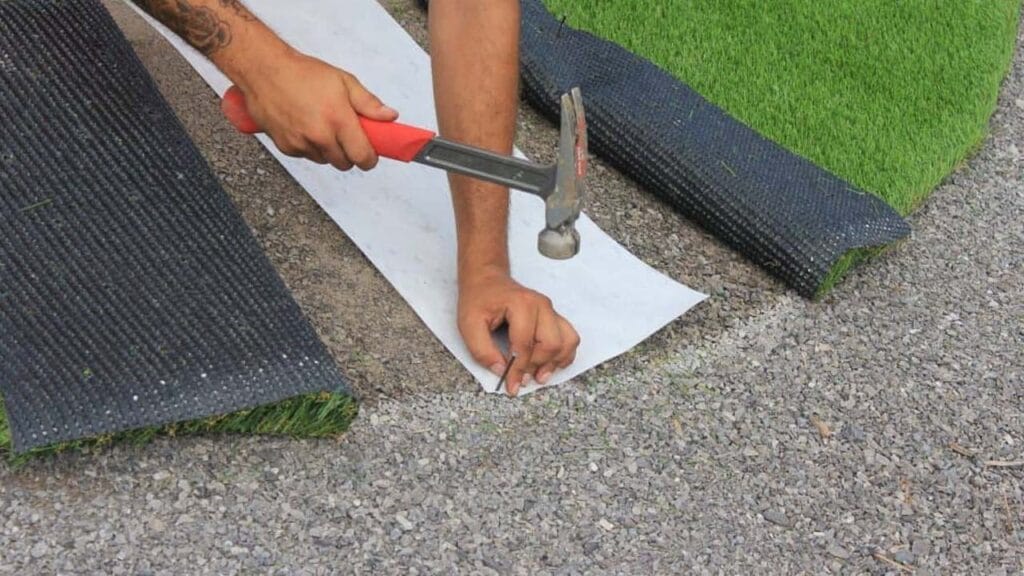
Fold back the edges of the grass and then apply the adhesive to the concrete. Press the grass back down firmly (you can place some heavy objects, not directly though) and allow the adhesive to set for at least two hours.
Step 3: Sand and Brush the Grass
The final step in how to lay artificial grass on the concrete just involves adding kiln-dried sand and simply brushing the grass to keep it looking fresh and natural.
1. Apply Kiln-Dried Sand:
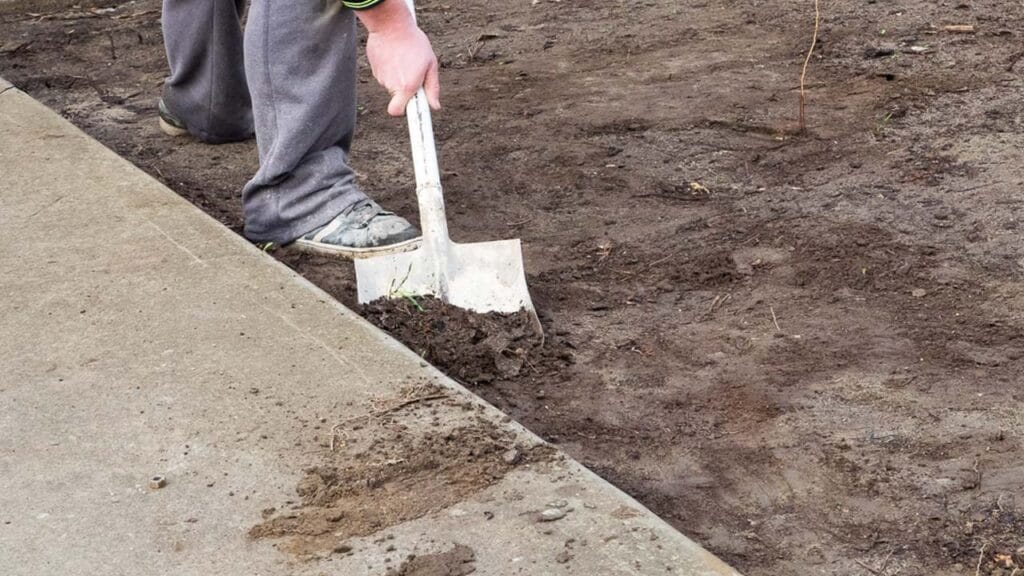
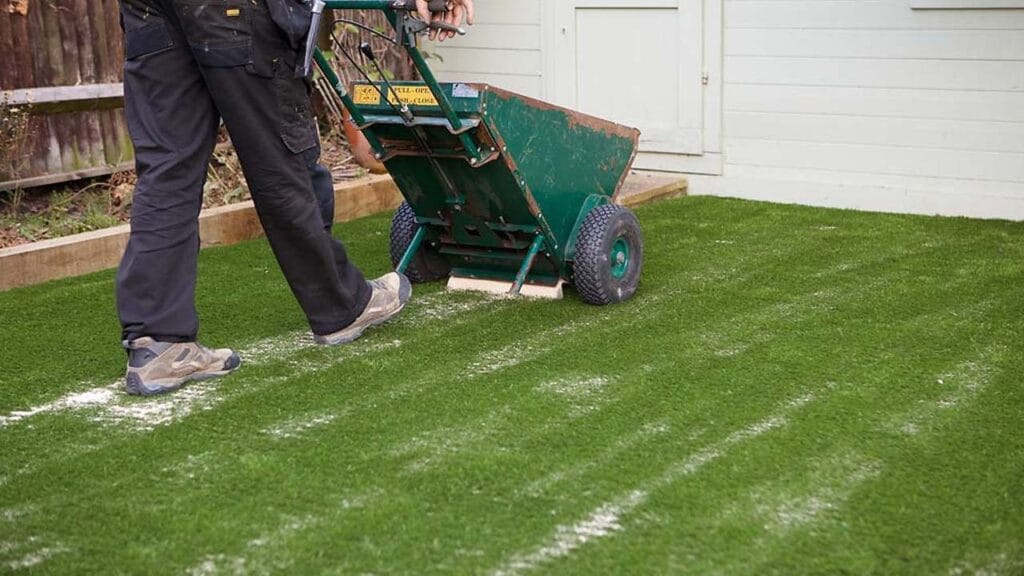
Spread the kiln-dried sand all over the grass. This will weigh down your artificial grass, prevent wrinkles, and keep the fibres standing tall. 4-5 kg of sand per square metre should be adequate.
2. Brush the Grass:
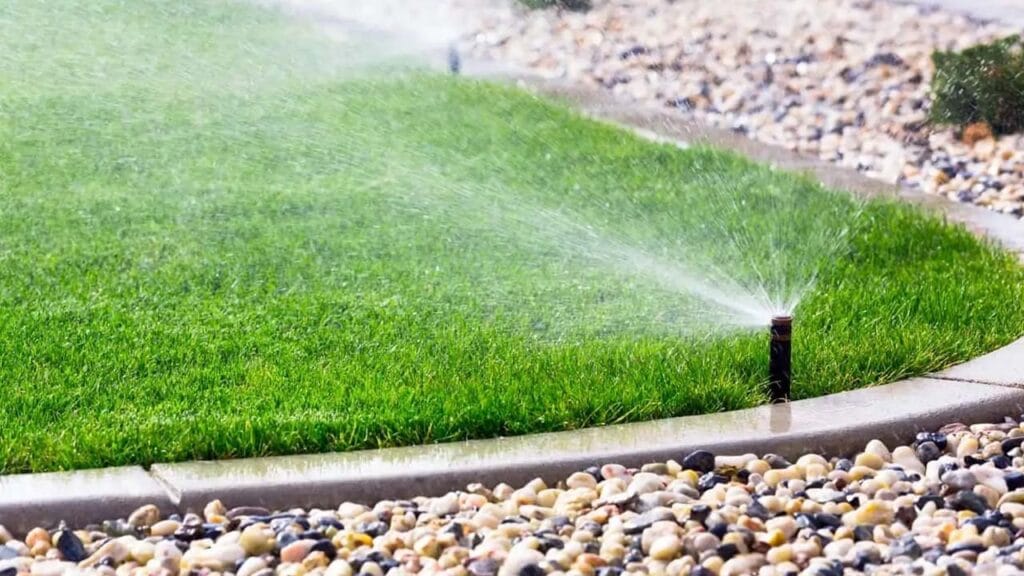
Finally, use a stiff broom to brush your grass. Work against the pile direction to lift the fibres and distribute the sand evenly.
Final Inspection
After all your work is done, survey your new artificial grass surface and check for any flaws or imperfections. Look for any loose edges, uneven seams, or areas that might need more infill. Then, use a broom to make the grass fibres stand upright to look neat and uniform.
Moreover, Look for any areas where the grass may not be properly attached or where the seams may not line up perfectly. Make any necessary adjustments as this final check is vital to make your installation appear professional and last longer. Finally, take a step back and admire your work and enjoy the fresh, beautiful look of your newly installed artificial grass.
Maintaining your Artificial Grass
To sum up, the most convenient thing about artificial grass is that it requires little to no maintenance. To keep your artificial grass looking its best, you must regularly brush it and remove any leaves or debris with the help of a leaf blower or a broom. In the case of spills, you can get rid of them by simply rinsing the area with water.
Also, avoid placing heavy objects or hot items directly on the grass as they might damage it. And that is all, with these steps and tips you can enjoy your freshly installed artificial grass right away!

