How to Cut Vinyl Flooring are you ready to take on your vinyl flooring project? Here is a brief guide on how to cut vinyl flooring in 6 simple steps. Before you begin, ensure you have all the necessary tools and safety equipment.
From essential tools like utility knives and measuring tapes to techniques for cutting vinyl planks and sheets, we cover everything. In addition, you will learn how to cut around corners and objects. It won’t leave any jagged edges behind, which is crucial for a perfect finish.
So without further ado, let’s get into it and begin your vinyl flooring adventure!
Tools to cut vinyl Flooring

Before starting on the manual DIY guide on how to cut vinyl flooring, ensure you have some essential tools. To cut vinyl flooring, you’ll need:
- how to cut vinyl flooring
- Gloves
- Safety glasses
- Chalk or chalk snap line
- Utility knife or jigsaw
- Straight edge or T-square cutting guide
- Measuring tape
- Carpenter’s speed square
- Fine-toothed jigsaw blade or multi-floor cutter
- Clamps
- Work surface
- Utility knife contour blade (optional) scoring and snapping
- vinyl cushion floor ecostep parquet
- cut vinyl plank flooring
How to cut vinyl Planks?
Once, you have collected all of the primary tools, now is the time to learn how to cut vinyl flooring. Vinyl flooring has a super uncomplicated and beginner-friendly process that any DIY enthusiast can do.
Follow these easy steps on how to cut vinyl planks, as well as the cutting techniques recommended when handling vinyl planks to ensure a safe, accident-free installation, and you’ll have yourself a lovely, polished vinyl plank flooring in no time.
Step 1: Acclimate the Planks
Before even thinking about cutting, it’s important to let the vinyl planks adjust to your room for about 1 to 2 days. This allows the planks to breathe and get familiar with the room’s temperature. This step is crucial to save you from the ordeal of the vinyl planks expanding or contracting over time. (how to cut vinyl flooring)
Step 2: Mark the Plank
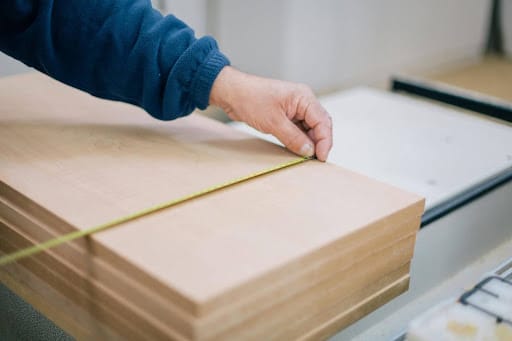
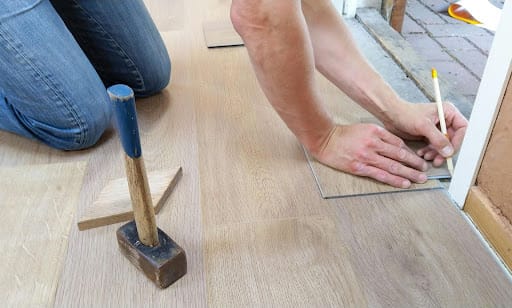
When learning how to cut vinyl planks, start by accurately measuring and marking the vinyl plank where it needs to be cut. Use a tape measure and a chalk or a pencil to make a small mark on the edge. For precise cuts on the vinyl, you can use a chalk snap line. You can also align a straight edge for accurate cuts, or a T-square with the mark, making sure it is flush against one side of the plank.
Then, easily draw a line across the plank to guide your cut and score along that line. Always use a sharp utility knife for vinyl cutting. (how to cut vinyl flooring)
If you need to cut around pipes or cabinets, make a template from cardboard to make custom cuts for tight spaces. This ensures clean and precise cuts, even in tricky corners.
Step 3: Score the Plank
If you’re using a jigsaw or cutter, you don’t need to score the plank. Just move to the next step
Place the plank on your work surface. hang the section to be cut slightly off the edge. If you don’t have a work table or are using the floor instead, use a spare piece of vinyl to protect it.
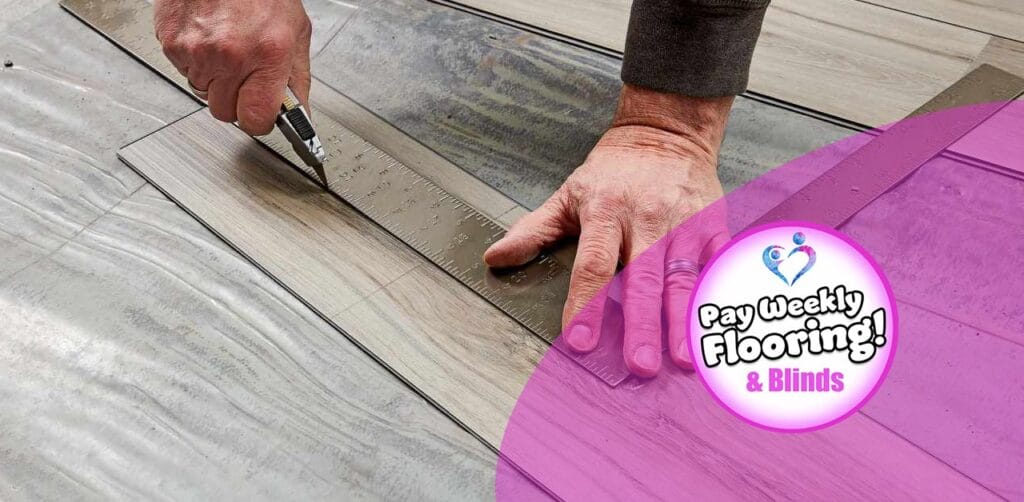
To act as a guide, use the T-square or the straight edge for accurate cuts. Now, score the vinyl planks along the marked line using your utility knife. Press firmly to make a deep score, cutting about halfway through. Not to worry if you can’t make a deep enough score on the first pass. It usually takes several passes to get a good score.
Step 4: Cut the Plank
No matter how you cut your vinyl planks, it’s important to use the right safety gear. Wearing work gloves safety glasses, and a dust mask if working with a jigsaw, is the way to go.
For straight cuts, simply place the vinyl plank on a table with the part to be cut hanging off the edge a bit. Align the plank so that the table’s edge is close to the cutting line to prevent any bending. Then, hold the plank firmly on the table and gently press down on the other side to snap the plank along the score line.
For cutting the plank on the floor, place one knee on the larger side to keep it steady, then lift the smaller side to break it.
Use a utility knife to smooth out any rough edges.
For irregular cuts, clamp the plank to a table to keep it still. Next, using a utility knife, stick a template on the plank with masking tape and cut along the marked line slowly. Make multiple passes to deepen the score, then apply pressure to cut through it.
If you’re using a jigsaw, start by drilling a pilot hole or making a notch where you need to begin. Use a fine-toothed blade and guide the jigsaw along the line, making sure it’s flat and steady for a clean cut.
Step 5: Double-Check
After you’re done cutting, measure the plank again to make sure it’s the right length. For regular cuts, place the plank in a position to check the fit. if the plank doesn’t fit perfectly, use a utility knife to make the necessary adjustments. If everything fits perfectly, then you’re ready for installation (how to cut vinyl flooring).
Conclusion: How to cut Vinyl Flooring?

If you wish to learn how to cut vinyl flooring, you’ve come to the right place. This blog is here to simplify the process of cutting vinyl for you. Follow these steps and you’ll achieve precise cuts and a professional finish for your vinyl sheet flooring. Just pick a simple utility knife and start the time. Make sure to double-check the edges for it to fix in the right place. And there you go (how to cut vinyl flooring).
FAQs:
how to cut vinyl flooring?
The best way to cut vinyl flooring is by using a sharp utility knife and a straight edge for clean, precise cuts. For sheet vinyl, measure and mark the cut line with a chalk snap line, then carefully score along the line with the utility knife.
Do you cut vinyl face up or down?
Vinyl flooring should generally be cut face up. This allows you to see the pattern or design, making sure that your cuts align properly. It also lowers the risk of damaging the surface of the vinyl.
Do you need an expansion gap for vinyl flooring?
Yes, you do need an expansion gap for vinyl flooring. a ¼-inch gap between the vinyl and your walls is recommended to allow natural expansion and contraction that happens due to temperature changes. The gap will prevent your vinyl from buckling or warping in the future and can easily be trimmed and covered with baseboards if you don’t like the look of it.
how to cut vinyl flooring or book your free home measuring service click here


