Are you planning to install vinyl flooring by yourself? That’s a good and creative idea. However, avoiding a few common mistakes during installation can be a great benefit to your floor. Vinyl flooring is a great flooring option, thanks to versatility in designs and colours. If you want to install vinyl flooring without causing any damage, then you must follow the instructions. Here’s the seven common mistakes that you must avoid while installing vinyl flooring.
1. Unplanned Surface and Layout
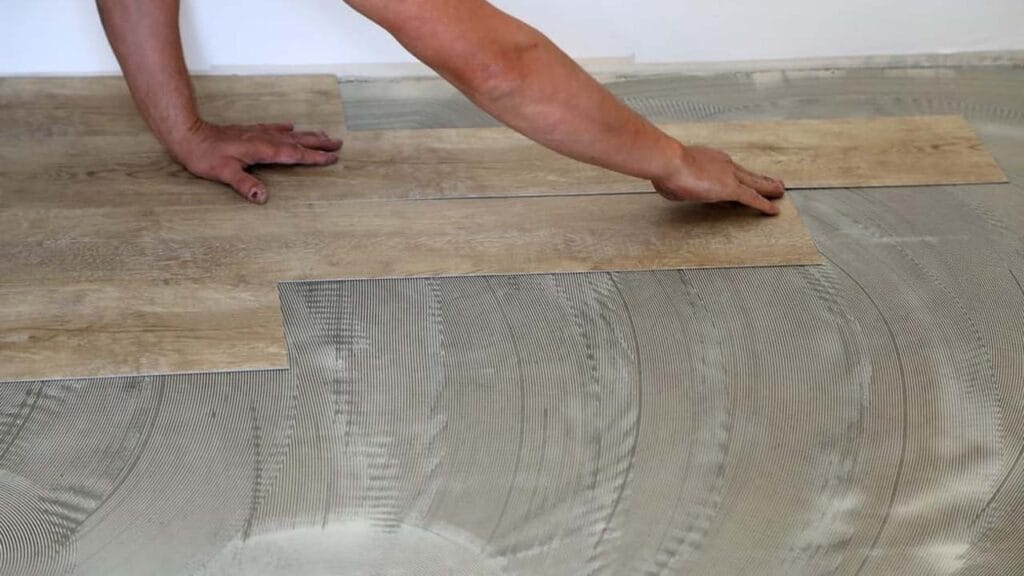 When you don’t plan a layout before the installation, it can result in uneven edges and heavy cuts. Making a thorough plan helps you get away from this mistake after installing vinyl plank flooring. Improper measuring and unplanned format can lead to several mistakes after the installation. It’s important to work on this before you install vinyl flooring.
2. Avoiding Subfloor Levelling
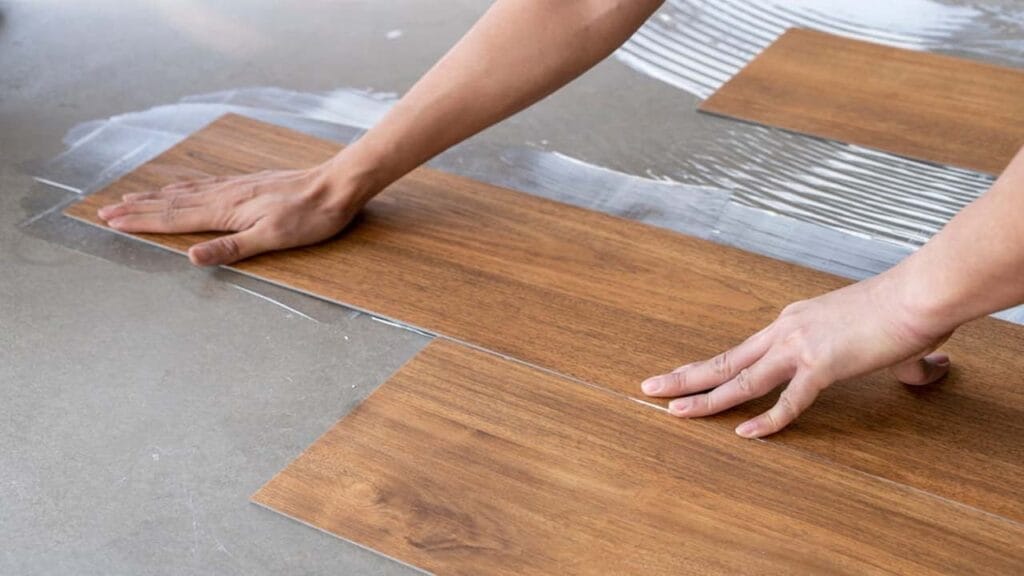
When your subfloor is not levelled, it can leave gaps between the planks and might cause the separation or warping. If you skip this step, the subfloor will stay rough and make huge problems with the flooring. Before you install vinyl plank flooring, ensure that the levelling of the subfloor is good to go. This way you can avoid the gaps between the vinyl planks and make your floor smooth and long-lasting.
3. Use of Unnecessary Tools
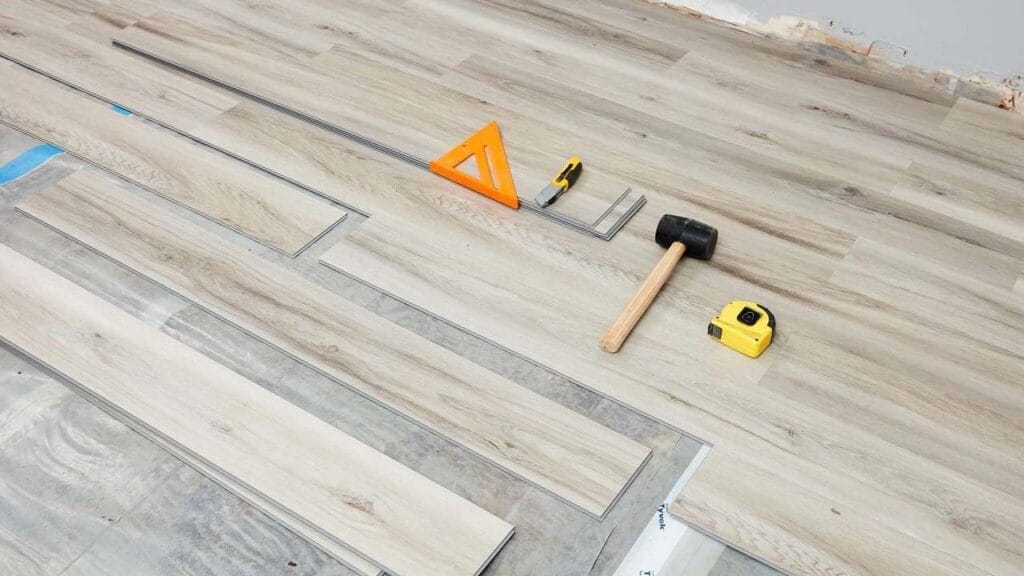
Another mistake to avoid is to not use a ton of fancy materials for the perfect cuts of the planks. You can easily cut the boards with the regular tools you have, there is no need to spend on the extra tools. Sometimes, the use of extra and fancy tools can damage the vinyl planks and make the installation setup difficult. Simple tools like pull bars or application knives can make the process easy and convenient.
4. Ignoring the Corners
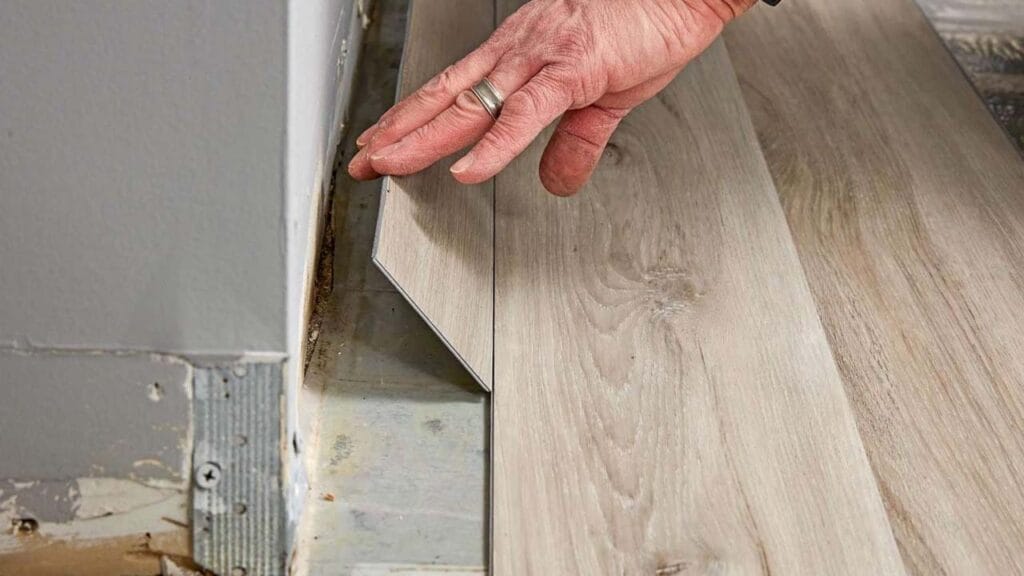
This is a mistake you make without even realising it, but since vinyl flooring is easily adaptable, you can overcome this mistake. You use a simple tapping block to set down the rows of vinyl planks, but you notice the corners in the end. You can put the small vinyl plank at the head of the row to fill up the corners. Vinyl plank flooring allows you to cover the corners of the boards you did not plan for.
5. Not Adjusting the Planks Properly
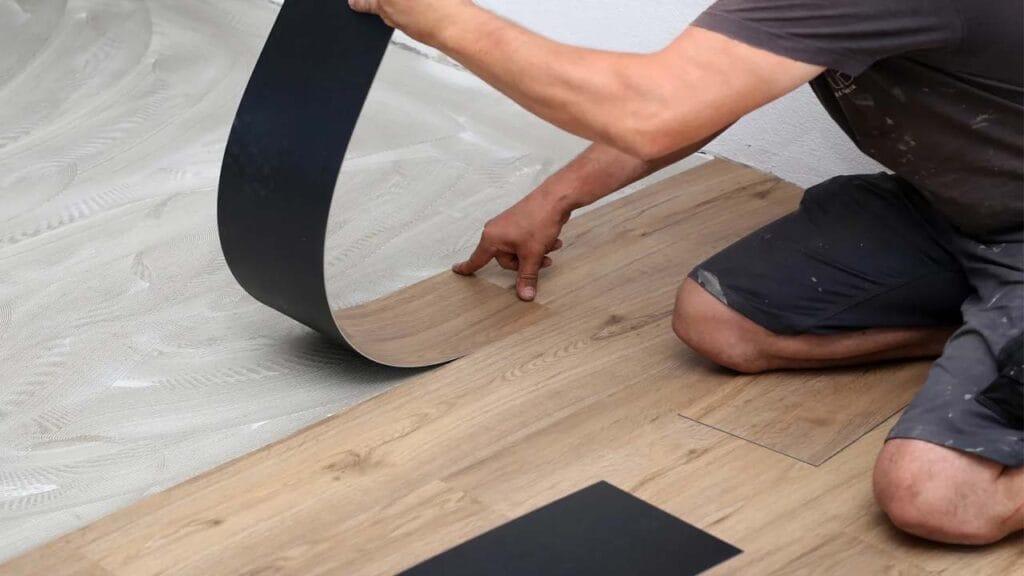
Misadjustment of planks is another common mistake which occurs after installing the vinyl plank flooring. It typically ruins the overall look of your floor. To avoid this mistake, you must lay each vinyl plank straight and ensure that the edges are stumbled well.
6. Choosing the Wrong Side to Start
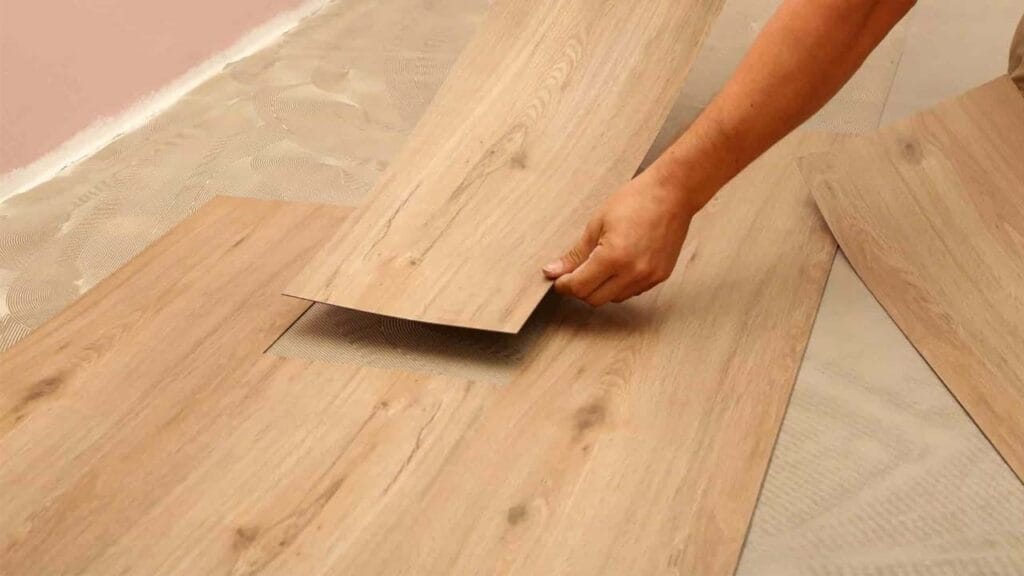
You should never start installing the vinyl planks from the door side because it can cause difficulties during the process. This mistake can lead to other mistakes as well. To avoid any problems, always start installing from the wall that is the longest, end the process toward the door. By doing this, the planks adjust well and make the last row suit perfectly.
7. Avoiding the Installation Guide
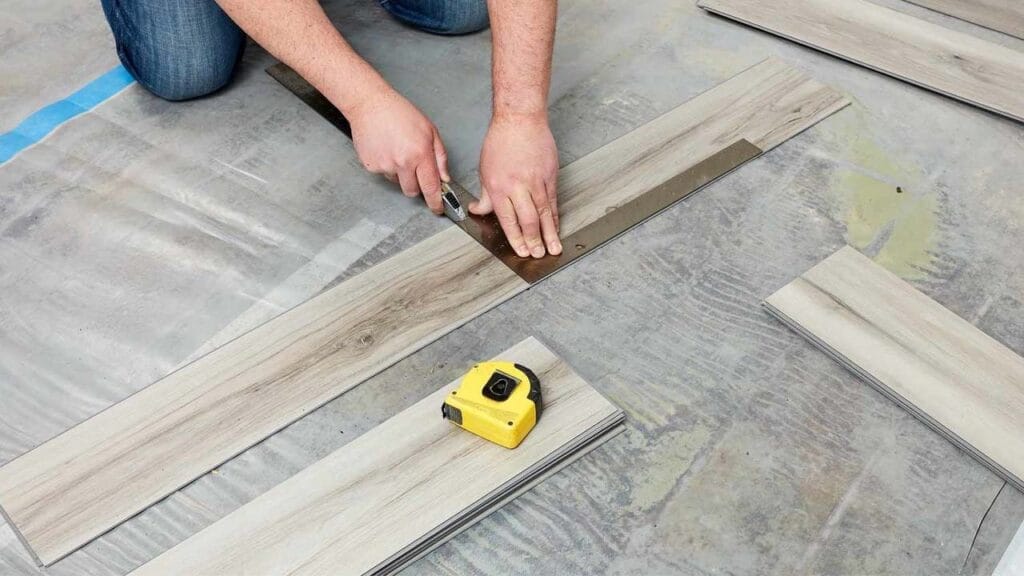
Each vinyl plank flooring comes with different installation instructions. Sometimes we just follow the regular method that we applied before and it leads to unexpected errors afterwards. For example, whether you install modern vinyl or patterned vinyl, each plank comes with a joint underlayment at the back. However, most homeowners forget to take down the underlayment before installing. By following the proper guide from the manufacturer, you can avoid these mistakes that will lessen the warranty of the planks.
Vinyl Plank Flooring Installation: Step-by-step Process
Now that you know about the common mistakes when installing vinyl plank flooring, let’s move on to the installation process. Vinyl plank flooring is the easiest to install even if you are doing this for the first time. Follow these steps and get the vinyl plank flooring done in the daylight.
1. Detach the Baseboards
The detachment of baseboards is necessary, depending on the vinyl planks. If the installation area has baseboards, then carefully remove them to make the installation look professionally good and clean. For a clean removal of baseboards, you can use paint or chalk to gently detach the baseboards through the wrecking bar. Ensure that you do not damage the baseboards during the separation process.
2. Plan the Format
The first step is to plan the format. By using the measuring tapes, discover the width of the room and match it with the width of a single plank. It will help you figure out the width of the first and last row of planks which is the most important. By planning a proper layout, you can figure out how many planks are needed to fit in the room. Don’t rush and take your time for the measurement to avoid any mistakes after the installation.
3. Get the Subfloor Ready
Levelling the subfloor so it’s ready to use the next step that you must work on. To ensure that your subfloor is levelled, you will have to remove the existing floor and determine the condition of the subfloor. Use the safe equipment and eye protection or mask. When you are working on the subfloor to make it clean, flat, and level within 3/16 inch per 10 feet.
4. Install the First Row of Vinyl Planks
Installing the first row perfectly is a key to the positive result in the end. By using an application knife, cut the vinyl planks in the determined size and set them in the first row one by one. While installing, ensure that the chopped side of the plank is faced towards the wall, keeping the extension gap. Some high quality vinyls make the process easier while some take time to fit in the first row.
5. Finish up the Installation
After installing the first row, move on to the next row and so on. Once all vinyl planks are installed by following the proper guide, you can reinstall the baseboards. If you are installing designer vinyls, focus on the installation more thoroughly so that the design on the planks look visible and appealing.
Summing Up
Vinyl plank flooring is undoubtedly a repeat flooring option and you can install it anywhere in the home. When installing the planks, remember the above-mentioned common mistakes to prevent any damage in the future. When it comes to the vinyl plank flooring installation, there are a few steps that are important to follow. By following the vinyl flooring installation guide, you can bring out the best result. Here at pay weekly, we make the vinyl flooring installation process safe and convenient for you. If you want a quick and affordable installation for vinyl plank flooring, then book an appointment with us today!

